
इस चरण में आपको यह जानकारी मिलेगी:
- अपने ऐप्लिकेशन में बाहरी वेब कॉन्टेंट को सुरक्षित और सैंडबॉक्स तरीके से दिखाने का तरीका.
यह चरण पूरा करने में लगने वाला अनुमानित समय: 10 मिनट.
अभी तक किसी भी व्यक्ति ने चेक इन नहीं किया है
इस चरण में जो कुछ भी पूरा किया जाएगा उसकी झलक देखने के लिए, इस पेज पर सबसे नीचे जाएं ↓.
वेबव्यू टैग के बारे में जानें
कुछ ऐप्लिकेशन को बाहरी वेब कॉन्टेंट सीधे उपयोगकर्ता को दिखाना होता है, लेकिन उन्हें अनुभव होना चाहिए. उदाहरण के लिए, ऐसा हो सकता है कि कोई न्यूज़ एग्रीगेटर, बाहरी सोर्स से मिली खबरों को एम्बेड करना चाहे ओरिजनल साइट के सभी फ़ॉर्मैट, इमेज, और व्यवहार वाली साइटें. इन और अन्य के लिए इस्तेमाल, Chrome ऐप्लिकेशन में वेबव्यू नाम का एक कस्टम एचटीएमएल टैग होता है.
वेबव्यू टैग लागू करें
काम की सूची वाले आइटम के टेक्स्ट में यूआरएल खोजने और हाइपरलिंक बनाने के लिए, काम की सूची वाला ऐप्लिकेशन अपडेट करें. लिंक, जब इस पर क्लिक करने से, Chrome ऐप्लिकेशन की नई विंडो खुलती है (ब्राउज़र टैब नहीं) जिसमें वेबव्यू कॉन्टेंट प्रज़ेंट करता है.
अनुमतियां अपडेट करें
manifest.json में जाकर, webview की अनुमति का अनुरोध करें:
"permissions": [
  "storage",
  "alarms",
  "notifications",
  "webview"
],
वेबव्यू एम्बेडर पेज बनाएं
अपने प्रोजेक्ट फ़ोल्डर के रूट में एक नई फ़ाइल बनाएं और इसे webview.html नाम दें. यह फ़ाइल एक
एक <webview> टैग वाला बेसिक वेबपेज:
<!DOCTYPE html>
<html>
<head>
  <meta charset="utf-8">
</head>
<body>
  <webview style="width: 100%; height: 100%;"></webview>
</body>
</html>
काम की सूची में यूआरएल के लिए पार्स करें
controller.js के आखिर में, _parseForURLs() नाम का एक नया तरीका जोड़ें:
  Controller.prototype._getCurrentPage = function () {
    return document.location.hash.split('/')[1];
  };

  Controller.prototype._parseForURLs = function (text) {
    var re = /(https?:\/\/[^\s"<>,]+)/g;
    return text.replace(re, '<a href="$1" data-src="$1">$1</a>');
  };

  // Export to window
  window.app.Controller = Controller;
})(window);
जब भी कोई स्ट्रिंग "http://" से शुरू होती हो या "https://" पाया जाता है, तो एक HTML ऐंकर टैग बनाया जाता है, यूआरएल को रैप करें.
काम की सूची में हाइपरलिंक दिखाएं
controller.js में showAll() खोजें. लिंक को पार्स करने के लिए, showAll() को अपडेट करें. इसके लिए,
_parseForURLs() तरीका पहले जोड़ा गया:
/**
 * An event to fire on load. Will get all items and display them in the
 * todo-list
 */
Controller.prototype.showAll = function () {
  this.model.read(function (data) {
    this.$todoList.innerHTML = this.view.show(data);
    this.$todoList.innerHTML = this._parseForURLs(this.view.show(data));
  }.bind(this));
};
showActive() और showCompleted() के लिए भी ऐसा ही करें:
/**
 * Renders all active tasks
 */
Controller.prototype.showActive = function () {
  this.model.read({ completed: 0 }, function (data) {
    this.$todoList.innerHTML = this.view.show(data);
    this.$todoList.innerHTML = this._parseForURLs(this.view.show(data));
  }.bind(this));
};

/**
 * Renders all completed tasks
 */
Controller.prototype.showCompleted = function () {
  this.model.read({ completed: 1 }, function (data) {
    this.$todoList.innerHTML = this.view.show(data);
    this.$todoList.innerHTML = this._parseForURLs(this.view.show(data));
  }.bind(this));
};
और आख़िर में, editItem() में _parseForURLs() जोड़ें:
Controller.prototype.editItem = function (id, label) {
  ...
  var onSaveHandler = function () {
    ...
      // Instead of re-rendering the whole view just update
      // this piece of it
      label.innerHTML = value;
      label.innerHTML = this._parseForURLs(value);
    ...
  }.bind(this);
  ...
}
अब भी editItem() में, कोड को ठीक करें, ताकि यह लेबल के बजाय innerText का इस्तेमाल करे
लेबल का innerHTML:
Controller.prototype.editItem = function (id, label) {
  ...
  // Get the innerHTML of the label instead of requesting the data from the
  // Get the innerText of the label instead of requesting the data from the
  // ORM. If this were a real DB this would save a lot of time and would avoid
  // a spinner gif.
  input.value = label.innerHTML;
  input.value = label.innerText;
  ...
}
वेबव्यू वाली नई विंडो खोलें
controller.js में कोई _doShowUrl() तरीका जोड़ें. यह तरीका, Chrome ऐप्लिकेशन की नई विंडो को
विंडो सोर्स के तौर पर, webview.html के साथ chrome.app.window.create():
  Controller.prototype._parseForURLs = function (text) {
    var re = /(https?:\/\/[^\s"<>,]+)/g;
    return text.replace(re, '<a href="$1" data-src="$1">$1</a>');
  };

  Controller.prototype._doShowUrl = function(e) {
    // only applies to elements with data-src attributes
    if (!e.target.hasAttribute('data-src')) {
      return;
    }
    e.preventDefault();
    var url = e.target.getAttribute('data-src');
    chrome.app.window.create(
     'webview.html',
     {hidden: true},   // only show window when webview is configured
     function(appWin) {
       appWin.contentWindow.addEventListener('DOMContentLoaded',
         function(e) {
           // when window is loaded, set webview source
           var webview = appWin.contentWindow.
                document.querySelector('webview');
           webview.src = url;
           // now we can show it:
           appWin.show();
         }
       );
     });
  };

  // Export to window
  window.app.Controller = Controller;
})(window);
chrome.app.window.create() कॉलबैक में, ध्यान दें कि src टैग के ज़रिए वेबव्यू का यूआरएल कैसे सेट किया गया है
एट्रिब्यूट इस्तेमाल करें.
आखिर में, doShowUrl() को कॉल करने के लिए Controller कंस्ट्रक्टर में, क्लिक इवेंट लिसनर जोड़ें
उपयोगकर्ता किसी लिंक पर क्लिक करता है:
function Controller(model, view) {
  ...
  this.router = new Router();
  this.router.init();

  this.$todoList.addEventListener('click', this._doShowUrl);

  window.addEventListener('load', function () {
    this._updateFilterState();
  }.bind(this));
  ...
}
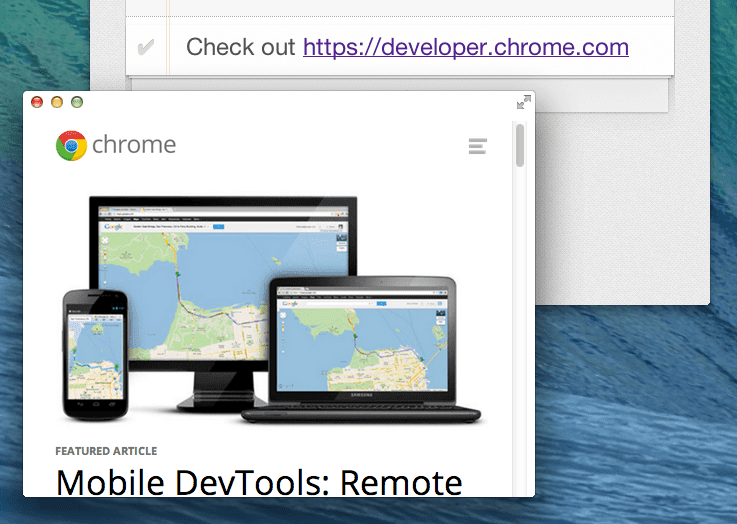
अपना काम पूरा करने वाला काम पूरा करने वाला ऐप्लिकेशन लॉन्च करें
आपने चौथा चरण पूरा कर लिया है! अपने ऐप्लिकेशन को फिर से लोड करने और पूरे यूआरएल के साथ काम की सूची जोड़ने पर http:// या https://, आपको कुछ ऐसा दिखना चाहिए:
अधिक जानकारी के लिए
इस चरण में शुरू किए गए कुछ एपीआई के बारे में ज़्यादा जानकारी के लिए, यह लेख पढ़ें:
क्या आप अगले चरण पर जाने के लिए तैयार हैं? चरण 5 - वेब से इमेज जोड़ें » पर जाएं