The chrome.notifications API lets you create notifications using templates and show these
notifications to users in the user's system tray:
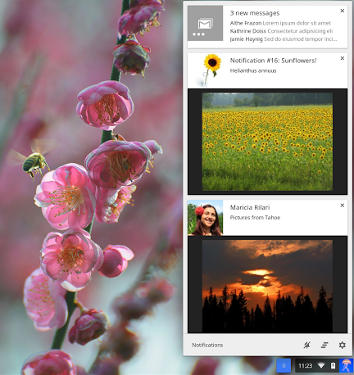
How they look
Rich notifications come in four different flavors: basic, image, list, and progress. All
notifications include a title, message, small icon displayed to the left of the notification
message, and a contextMessage field, which is displayed as a third text field in a lighter color font.
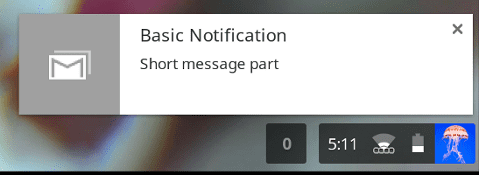
A basic notification:
List notifications display any number of list items:
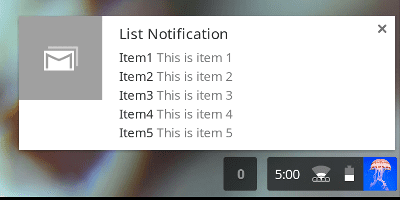
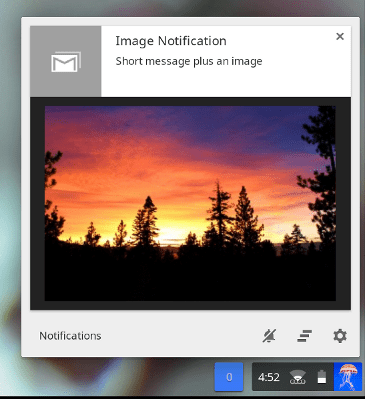
Image notifications include an image preview:
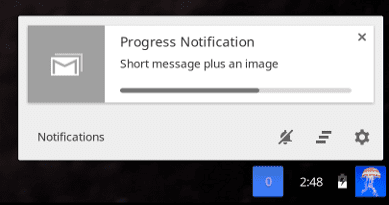
Progress notifications show a progress bar:
How they behave
On ChromeOS, notifications show up in a user's system tray, and stay in the system tray until the user dismisses them. The system tray keeps a count of all new notifications. Once a users sees the notifications in the system tray, the count is reset to zero.
Notifications can be assigned a priority between -2 to 2. Priorities less than 0 are shown in the ChromeOS notification center, and produce an error on other platforms. The default priority is 0. Priorities greater than 0 are shown for increasing duration and more high priority notifications can be displayed in the system tray.
The priority setting does not affect the order of notifications on macOS.
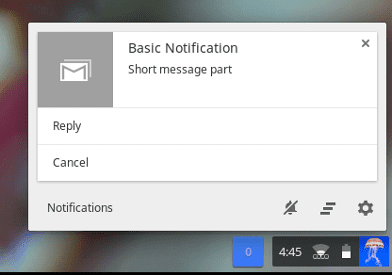
In addition to displaying information, all notification types can include up to two action items. When users click an action item, your extension can respond with the appropriate action. For example, when the user clicks Reply, the email app opens and the user can complete the reply:
How to develop them
To use this API, call the notifications.create() method, passing in the notification details using
the options parameter:
await chrome.notifications.create(id, options);
The notifications.NotificationOptions must include a notifications.TemplateType, which
defines available notification details and how those details are displayed.
Create a basic notification
All template types (basic, image, list and progress) must include a notification title and
message, as well as an iconUrl, which is a link to a small icon that is displayed to the left of
the notification message.
Here's an example of a basic template:
var opt = {
  type: "basic",
  title: "Primary Title",
  message: "Primary message to display",
  iconUrl: "url_to_small_icon"
}
Use an image
The image template type also includes an imageUrl, which is a link to an image that is previewed
within the notification. Note that images are not shown to users on macOS.
var opt = {
  type: "image",
  title: "Primary Title",
  message: "Primary message to display",
  iconUrl: "url_to_small_icon",
  imageUrl: "url_to_preview_image"
}
Create a list notification
The list template displays items in a list format. Note that only the first item is displayed to users on macOS.
var opt = {
  type: "list",
  title: "Primary Title",
  message: "Primary message to display",
  iconUrl: "url_to_small_icon",
  items: [{ title: "Item1", message: "This is item 1."},
          { title: "Item2", message: "This is item 2."},
          { title: "Item3", message: "This is item 3."}]
}```

### Create progress notification {: #progress }

The `progress` template displays a progress bar where current progress ranges from 0 to 100. On macOS the progress bar displays as a percentage value in the notification title instead of in the progress bar.

```js
var opt = {
  type: "progress",
  title: "Primary Title",
  message: "Primary message to display",
  iconUrl: "url_to_small_icon",
  progress: 42
}
Listen for and respond to events
All notifications can include event listeners and event handlers that respond to user actions (see
chrome.events). For example, you can write an event handler to respond to an
notifications.onButtonClicked event.
Event listener:
chrome.notifications.onButtonClicked.addListener(replyBtnClick);
Event handler:
function replyBtnClick {
    //Write function to respond to user action.
}
Consider including event listeners and handlers within the service worker, so that notifications can pop-up even when the extension isn't running.
