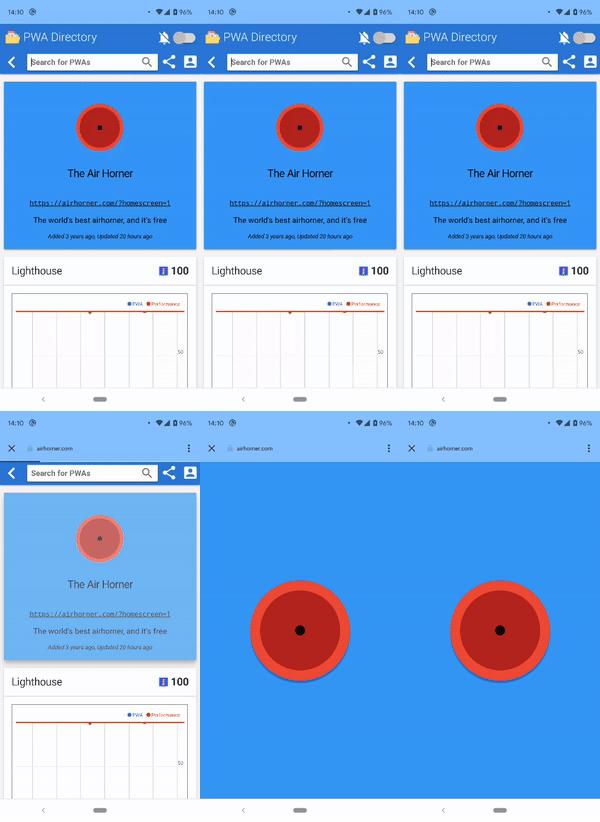
受信任的網路活動是一種新方法,可透過以自訂分頁為基礎的通訊協定,將 PWA 等網頁應用程式內容整合至 Android 應用程式。

信任的網頁活動需要使用數位資產連結驗證開啟的來源,才能以全螢幕顯示內容。
當使用者離開已驗證的來源時,系統會顯示自訂分頁 UI。自訂分頁中的網址列會告知使用者目前正在應用程式外部網域中瀏覽,同時提供 X 按鈕,讓使用者快速返回已驗證的來源。
不過,網頁應用程式也常會建立跨越多個來源的體驗,例如購物應用程式,其主要體驗位於 www.example.com,而結帳流程則託管於 checkout.example.com。
在這種情況下,顯示自訂分頁不太理想,不僅是因為使用者位於同一個應用程式,而且頂端列可能會讓使用者誤以為已離開應用程式,並放棄結帳。
透過信任的網頁活動,開發人員可以驗證多個來源,使用者在瀏覽這些來源時會維持全螢幕模式。如同主要網域,開發人員必須能夠控制每個已驗證的來源。
為多個來源設定驗證
如同主要來源,驗證會透過 Digital Asset Links 完成,且每個要驗證的網域都必須有自己的 assetlinks.json 檔案。
為每個來源新增 assetlinks 檔案
在使用 www.example.com 和 checkout.example.com 的例子中,我們會擁有:
https://www.example.com/.well-known/assetlinks.jsonhttps://checkout.example.com/.well-known/assetlinks.json
由於每個網域都會連結至相同的 Android 應用程式,因此 assetlinks.json 檔案看起來完全相同。
假設 Android 應用程式的套件名稱為 com.example.twa,那麼兩個 assetlink.json 檔案都會包含類似以下的內容:
[{
  "relation": ["delegate_permission/common.handle_all_urls"],
  "target": {
  "namespace": "android_app",
  "package_name": "com.example",
   "sha256_cert_fingerprints": ["..."]}
}]
為 Android 應用程式新增多個來源
在 Android 應用程式中,您需要更新 asset_statements 宣告,以便納入所有需要驗證的來源:
<string name="asset_statements">
[{
    \"relation\": [\"delegate_permission/common.handle_all_urls\"],
    \"target\": {
        \"namespace\": \"web\",
        \"site\": \"https://www.example.com\"
    }
}],
[{
    \"relation\": [\"delegate_permission/common.handle_all_urls\"],
    \"target\": {
        \"namespace\": \"web\",
        \"site\": \"https://checkout.example.com\"
    }
}],
</string>
在 LauncherActivity 中新增額外來源
使用預設的 LauncherActivity
android-browser-helper 支援程式庫中的 LauncherActivity 提供一種方法,可透過設定 Android 專案來新增多個來源,以便進行驗證。
首先,請在 res/values/strings.xml 檔案中新增 string-array 元素。每個要驗證的額外網址都會位於 item 子元素中:
...
<string-array name="additional_trusted_origins">
    <item>https://www.google.com</item>
</string-array>
...
接著,請在 AndroidManifest.xml 中,在參照 LauncherActivity 的現有活動元素中新增 meta-data 標記:
...
<activity android:name="com.google.androidbrowserhelper.trusted.LauncherActivity"
    android:label="@string/app_name">


    <meta-data
        android:name="android.support.customtabs.trusted.ADDITIONAL_TRUSTED_ORIGINS"
        android:resource="@array/additional_trusted_origins" />


    ...
</activity>
...
使用自訂 LauncherActivity
使用自訂程式碼啟動信任的網路活動時,只要在建構啟動信任的網路活動的意圖時呼叫 setAdditionalTrustedOrigins,即可新增額外來源:
public void launcherWithMultipleOrigins(View view) {
  List<String> origins = Arrays.asList(
      "https://checkout.example.com/"
  );


  TrustedWebActivityIntentBuilder builder = new TrustedWebActivityIntentBuilder(LAUNCH_URI)
      .setAdditionalTrustedOrigins(origins);


  new TwaLauncher(this).launch(builder, null, null);
}
結論
完成這些步驟後,Trusted Web Activity 即可支援多個來源。android-browser-helper 提供多個來源 Trusted Web Activity 的範例應用程式。請務必確認。
疑難排解
設定 Digital Asset Links 時,需要進行一些動作。如果應用程式仍在頂端顯示「自訂分頁」列,表示設定可能有誤。
Trusted Web Activity 快速入門指南提供實用的疑難排解專區,說明如何對數位資產連結問題進行偵錯。
此外,還有令人驚豔的 Peter's Asset Link Tool,可協助您在裝置上安裝的應用程式中偵錯 Digital Asset Links。


